Use .pcraft to continue native work, PSD to exchange supported layers, PNG for transparency and JPEG for a final photograph. An exported image does not preserve editable layers. ICC/color-space behavior, bit depth and EXIF retention/removal have not been verified; check the exported file if your delivery needs those specifications. Download and reopen your project before closing the editor.
Choose a format for your next step
| Format | Use it for | What to check |
|---|---|---|
| .pcraft | Continuing native editing | Reopen layers and filter parameters; keep a separate export |
| PSD | Supported layer exchange | Not full Photoshop fidelity; some smart-filter parameters are lost |
| PNG | Transparent cutouts, graphics and text | Inspect alpha and edges on light and dark backgrounds |
| JPEG | Final photographs for sharing | No transparency or layers; compare size and visible detail |
Start a native project before editing
Directly opened photos and PSD files currently save as PSD. The browser Save As dialog does not offer a native-format picker. Renaming .psd to .pcraft does not convert a document.
- Choose New project in the website toolbar and enter your canvas size. The browser wrapper prepares a native document.
- Open your photograph in a separate document. Select all, then Edit → Copy Merged. Return to the native document and Edit → Paste. This imports flattened pixels; it does not transfer the original PSD structure.
- Use File → Save (Ctrl+S) to download .pcraft. Check the browser download list and your saved file. Reopen it using Open in the website toolbar.
- In our native test, Smart Sharpen settings survived reopening. Save a version before a risky change and keep the downloaded file on your own device.
How do I make a transparent cutout with a layer mask?
For a simple hard-edged subject, draw a selection, turn it into a layer mask, hide the original background and refine the mask. Black hides pixels; white reveals them. This cup-and-saucer example uses manual tools, not AI background removal. The downloaded PSD keeps the mask editable; the PNG is the finished image.
Download coffee.jpg below and open it with the website Open button. The example is 1350 × 900. If Embedded Profile Mismatch appears, this test kept the embedded profile. Press Ctrl+J on Windows to duplicate the photo layer and keep the original Background as a separate layer.
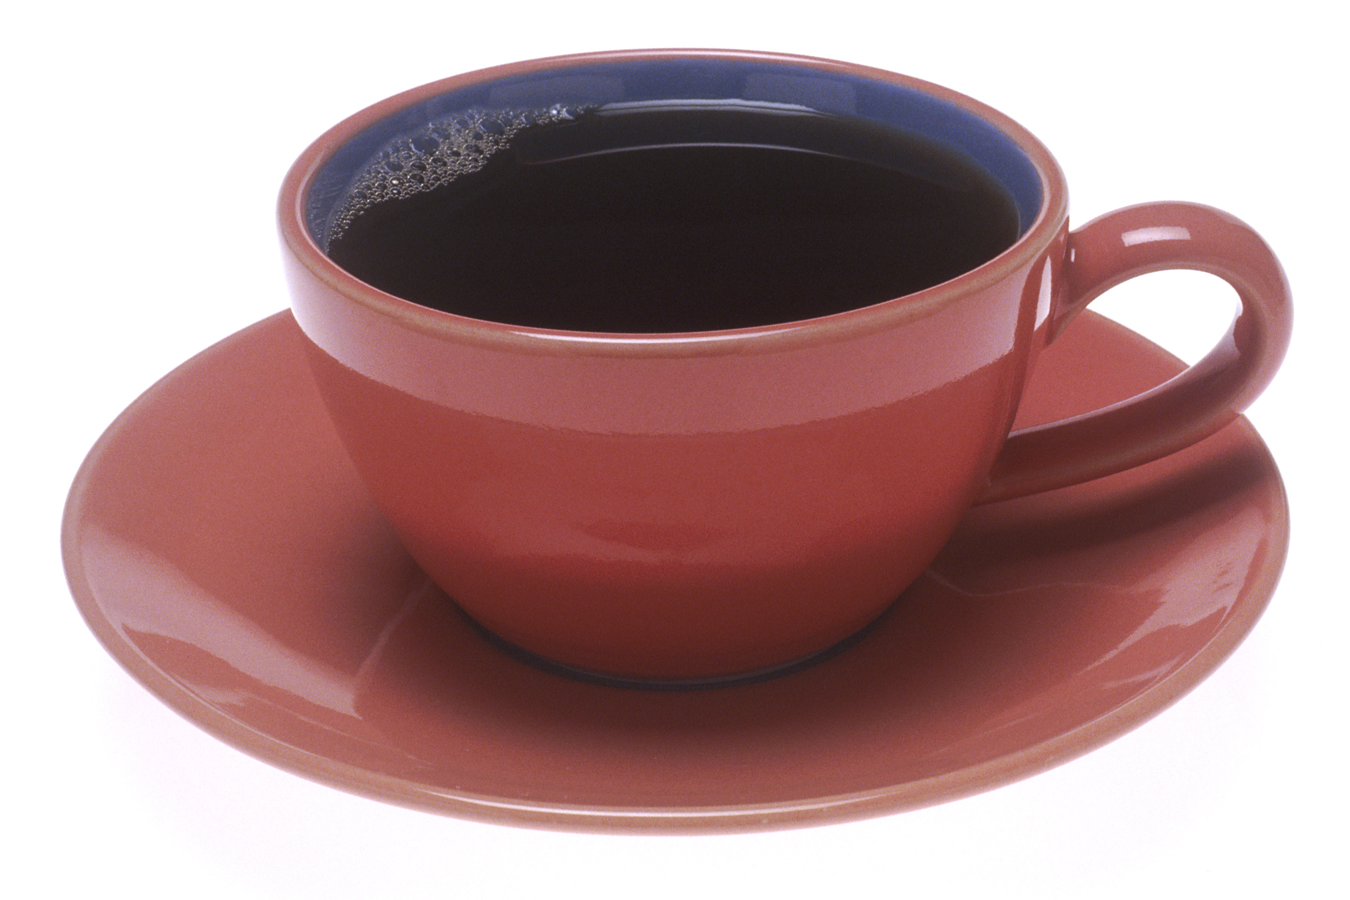
Draw the outline, then add a mask
- Right-click the Lasso tool and choose Polygonal Lasso Tool. Click around the cup and saucer outline; close the polygon at the first point. Our test used 0 px feather with anti-aliasing enabled. More points help follow curves, but polygon corners still need inspection.
- With the duplicated photo layer selected, click Add layer mask at the bottom of Layers. Hide the original Background using its eye icon, then Ctrl+D to deselect. The area outside the mask should show a checkerboard. A visible original background will keep the composition opaque even when the copy has a mask.
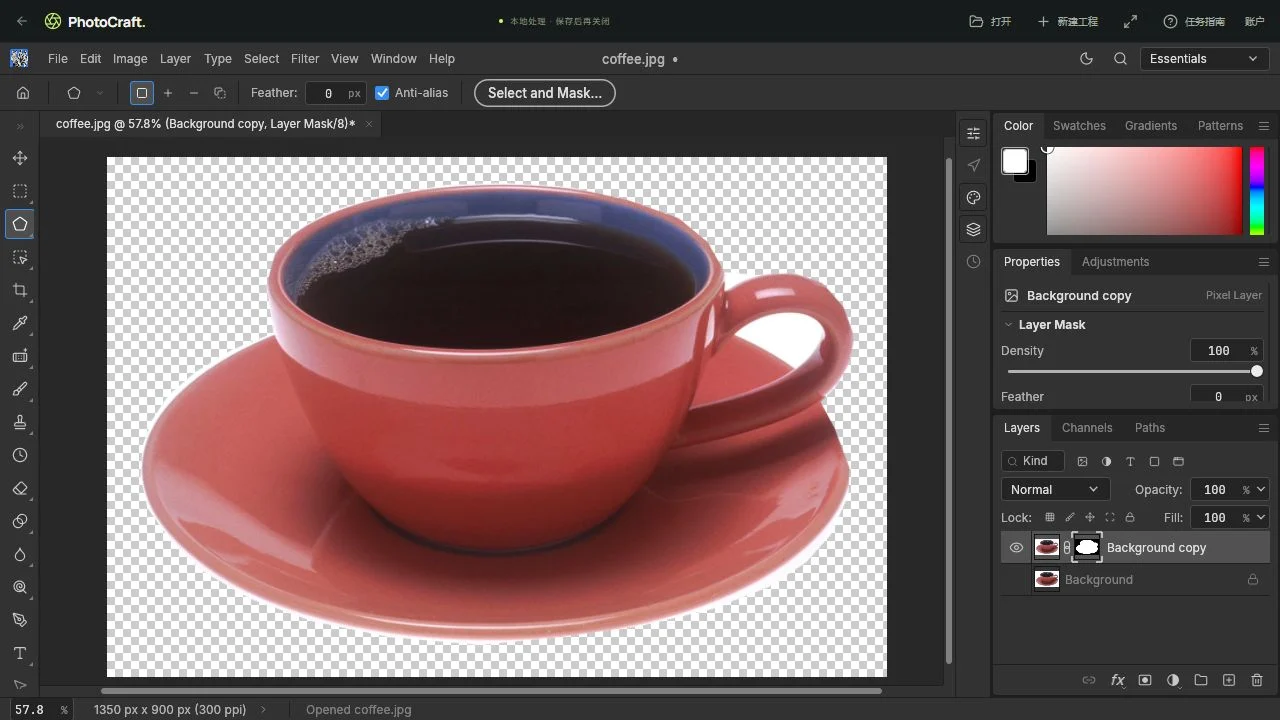
Fix the handle hole and inspect the edges
- Click the black-and-white mask thumbnail, not the photo thumbnail. Use Polygonal Lasso to select only the white opening inside the handle; leave the saucer visible through its lower part. Check that the foreground swatch is black. In this Windows test, Alt+Backspace filled that selected mask area with the foreground color; Ctrl+D removed the selection.
- Press B for Brush and paint black on the mask to hide a remaining edge. Use white to restore accidentally hidden pixels. Our test used a 20 px brush, Normal mode, 100% opacity and flow. Check the actual swatch before pressing X: X swaps colors; it does not always select black. The recording includes a white-foreground mistake, Undo and its correction.
- Save with File → Save, then export PNG with Transparency enabled. Reopen the downloaded PSD with the website Open button. Check the mask thumbnail, hidden original and handle hole; try a small mask stroke and Undo. Do not substitute the flat PNG for the layered project.
Watch the real mask workflow
Operator test on 11 October 2026: Windows, the Codex in-app Chromium browser, hosted PhotoCraft v0.7.0. The PSD was physically downloaded and reopened; painting on its mask and Undo remained available. A file check found two layers, a visible masked copy and a hidden original. The PNG was fully decoded: the outside corner and handle-hole sample are transparent, while a cup-body sample is opaque.
This demonstrates the file workflow, not a finished commercial cutout. White fringe and coarse polygon corners remain, especially around the saucer. Inspect at 100% over light and dark backgrounds and refine before delivery. Hair, translucent glass and complex backgrounds were not tested. Adobe Photoshop reopening was not tested either.
Inspect the actual PNG, not just the canvas
The checkerboard here is the page background, not pixels baked into the PNG. Download the file to inspect its alpha channel. Exporting JPEG would not preserve that transparency.
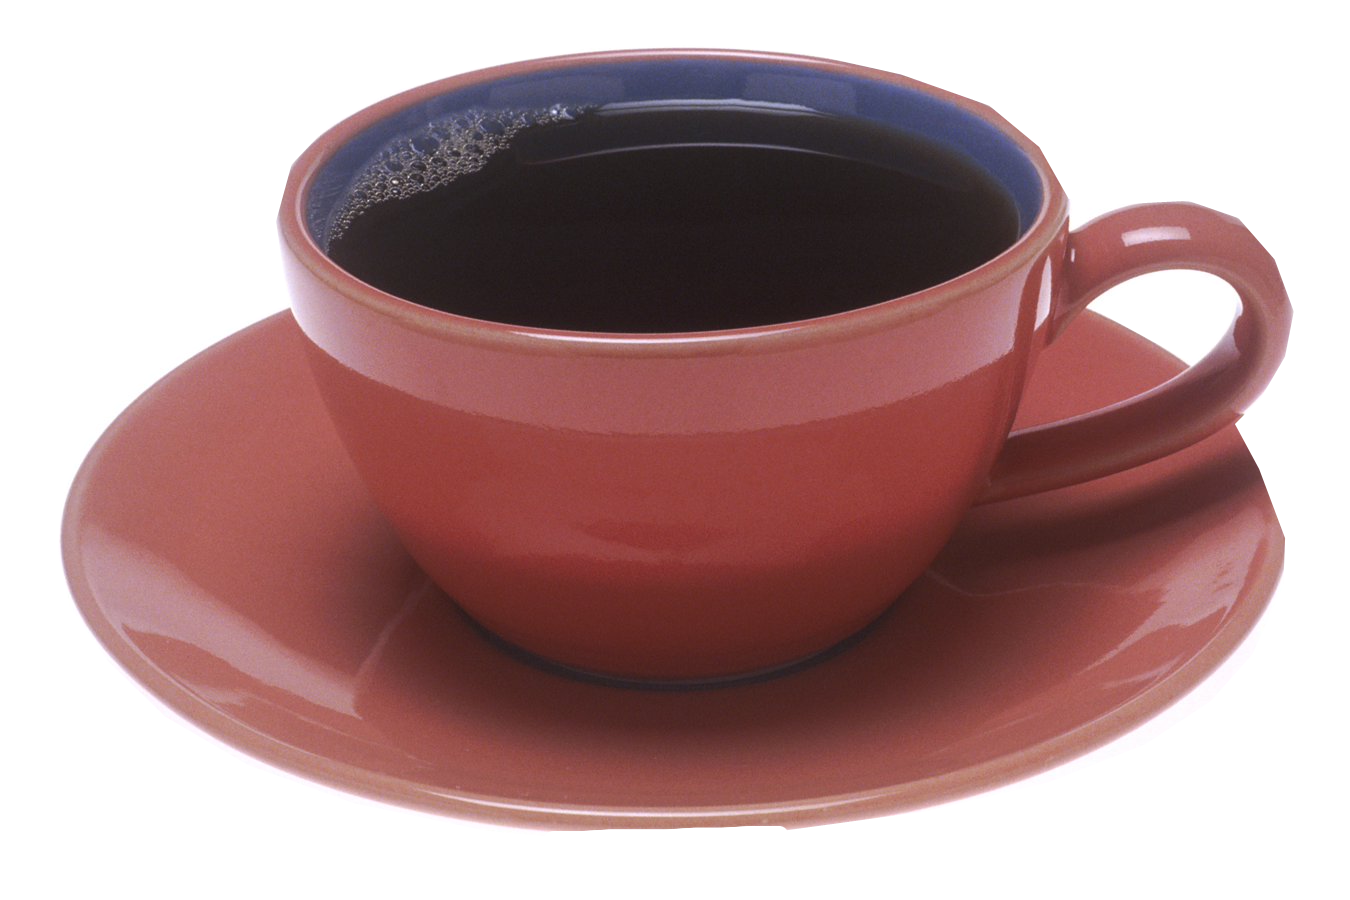
Export, then check the file
- Use File → Export → Export As. Choose PNG for transparent content or JPEG for an ordinary photo, then set the output dimensions.
- Confirm the downloaded file opens in another image viewer. Check dimensions, type, orientation and clipping. A saved-status message alone is not proof that a download completed.
- For a cutout, inspect the handle hole and fine edges. JPEG replaces transparency with a background; use PNG if those pixels need to stay transparent.
Try the verified files
The native brush document was physically downloaded and reopened in the production browser test. The PNG and JPEG were decoded and checked for dimensions. There is no cloud storage or verified crash recovery; keep your own copies.
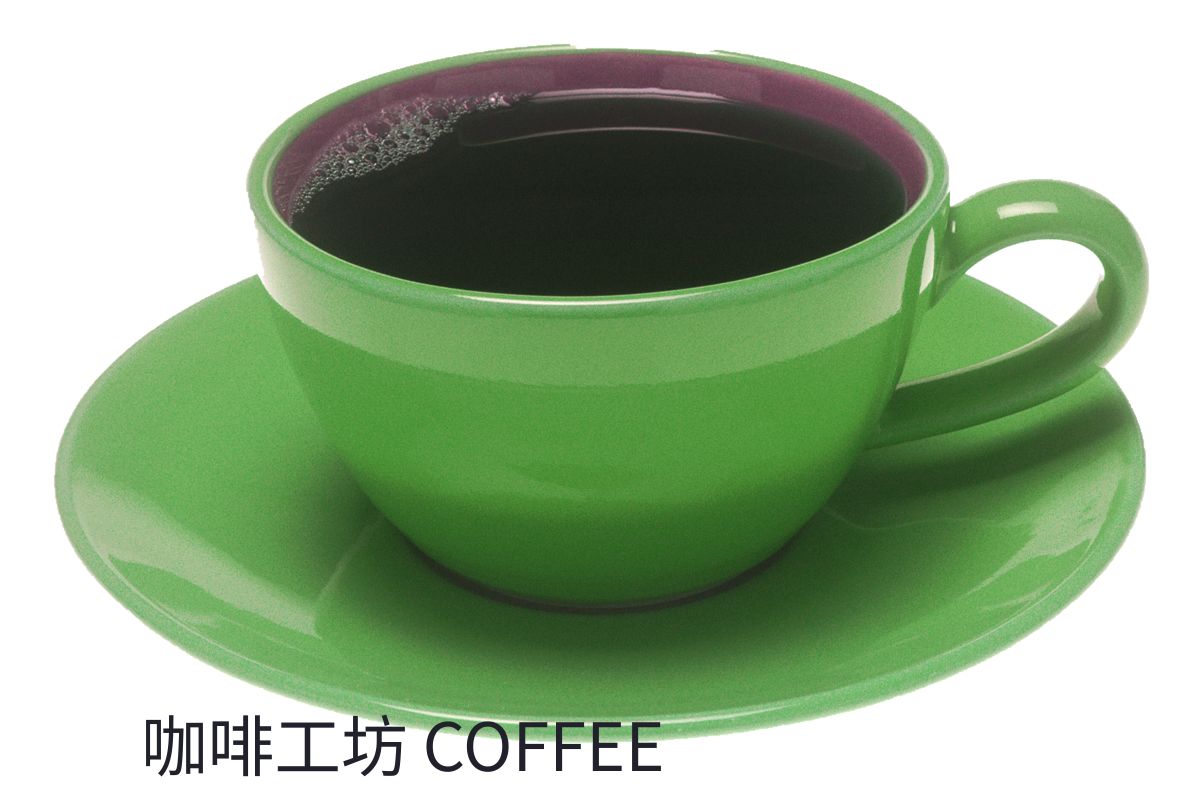
Samples, licensing & test notes
Coffee source: Renee Comet / National Cancer Institute, public domain; our sample adds color changes, a mask and text. The native brush sample was made by PhotoCraft.pic and is free to reuse. Files and screenshots document specific tests, not a guarantee for every file or device.

Try it with a real sample.
If you get stuck, send a screenshot with your feedback. Your canvas is not automatically uploaded.